Drying flowers is one of the sweetest ways to preserve beauty — a moment, a memory, or simply a bloom you couldn’t resist bringing home. While air‑drying works for many flowers, using silica gel gives you something different: color that stays vibrant, petals that keep their shape, and results that look almost freshly picked.
If you’ve ever wondered how to do it (and which flowers work best), here’s a simple guide to get you started.
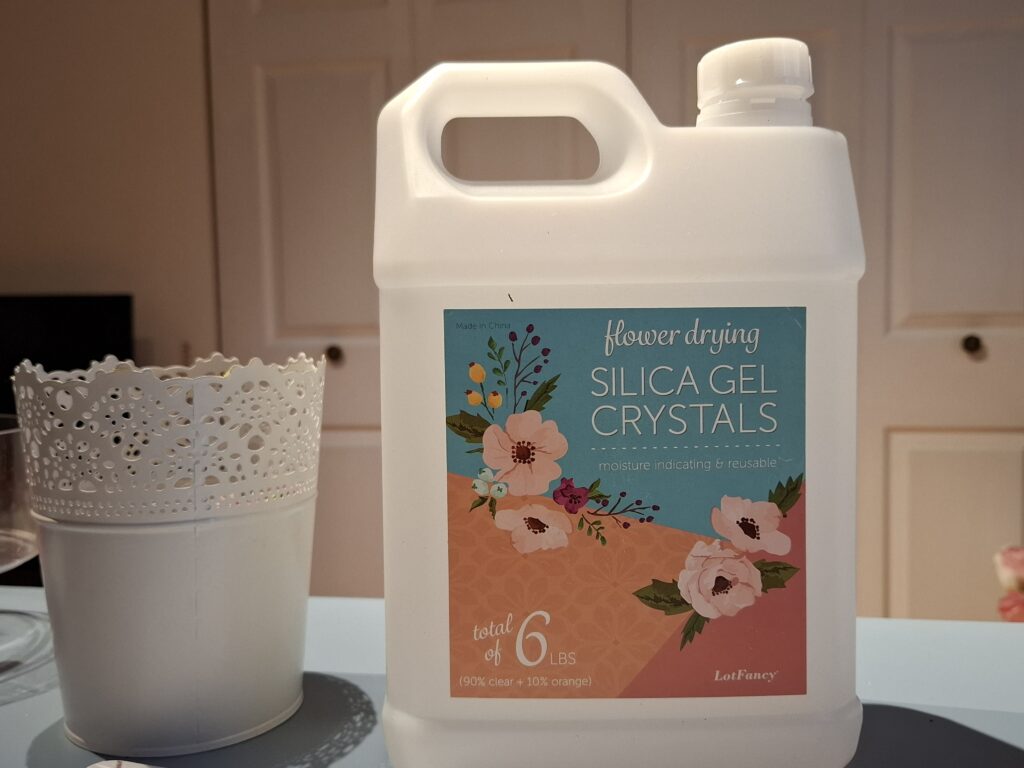
🌸 Why Use Silica Gel?
Silica gel is a moisture‑absorbing crystal that gently pulls water out of petals while helping them keep their original form. Compared with natural air‑drying, silica gel:
- Keeps colors brighter
- Preserves petal shape more accurately
- Works faster — usually just a few days
- Is perfect for delicate blooms that would wilt or shrivel if hung upside down
If you want flowers that look almost “alive,” silica gel is the way to go.
🌼 Best Flowers for Silica Gel Drying
Some flowers dry beautifully with silica gel because of their structure and petal thickness. Here are the top performers:
Excellent Choices
- Roses
- Peonies
- Ranunculus
- Dahlias
- Chrysanthemums
- Gerbera daisies
- Tulips
- Hydrangeas
- Carnations
- Zinnias
Surprisingly Good
- Sunflowers (small to medium heads)
- Orchids
- Anemones
Avoid
- Very thin, papery flowers (e.g., baby’s breath, alstroemeria) — they air‑dry better
- Flowers with extremely high moisture stems (e.g., calla lilies)
🧂 How to Dry Flowers Using Silica Gel
1. Prepare Your Container
Choose an airtight container deep enough to hold your flower without squishing the petals.
2. Add a Base Layer
Pour 1–2 inches of silica gel at the bottom. This supports the flower and starts absorbing moisture immediately.
3. Place the Flower Face‑Up
Gently nestle the bloom into the gel. For roses or peonies, you can open the petals slightly for a fuller look.
4. Cover Completely
Slowly pour silica gel over the flower, letting it fall between petals. Cover until the entire bloom is buried.
5. Seal and Wait
Close the container tightly. Label the flower name and date.
Drying time depends on the flower:
| Flower Type | Approx. Drying Time |
|---|---|
| Roses | 3–5 days |
| Peonies | 5–7 days |
| Dahlias | 4–6 days |
| Hydrangeas | 2–4 days |
| Small blooms | 1–2 days |
Silica gel works fast — much faster than air‑drying, which can take 1–3 weeks.
6. Remove Gently
Brush off excess crystals with a soft brush or blow lightly with cool air.
🌿 Silica Gel vs. Air‑Drying
| Method | Pros | Cons |
|---|---|---|
| Silica Gel | Vibrant color, keeps shape, fast results | Requires gel + container |
| Air‑Drying | Easy, free, great for rustic look | Colors fade, petals shrink or curl |
If you want flowers that look “fresh but forever,” silica gel wins every time.
💡 Pro Tips for Best Results
- Choose flowers at their peak — not too open, not too tight.
- Trim stems short before drying; you can attach wire stems later.
- Use gloves when handling silica gel to avoid dryness on your hands.
- Reuse your silica gel — To reactivate your silica gel, bake it at low heat — around 110°C — for 1–2 hours in the oven. Avoid using a microwave; microwaves rely on moisture to heat, and since silica gel contains almost none, it won’t warm evenly or safely.
- For roses: gently open the petals before burying for a fuller look.
- For hydrangeas: dry individual florets for perfect mini blooms.
- Store dried flowers away from sunlight to prevent fading.
🌺 A Final Thought
Drying flowers is more than a craft — it’s a way of holding onto beauty a little longer. Whether it’s a bouquet from someone special or a bloom you picked on a quiet walk, silica gel helps you preserve the moment with stunning detail.
If you’re curious about preserving flowers at home and which silica gels I normally, you can find everything on my Resources Page, along with tips to help you get beautiful, long‑lasting results.
The one that I often use and recommend is this: https://amzn.to/4s76DkM