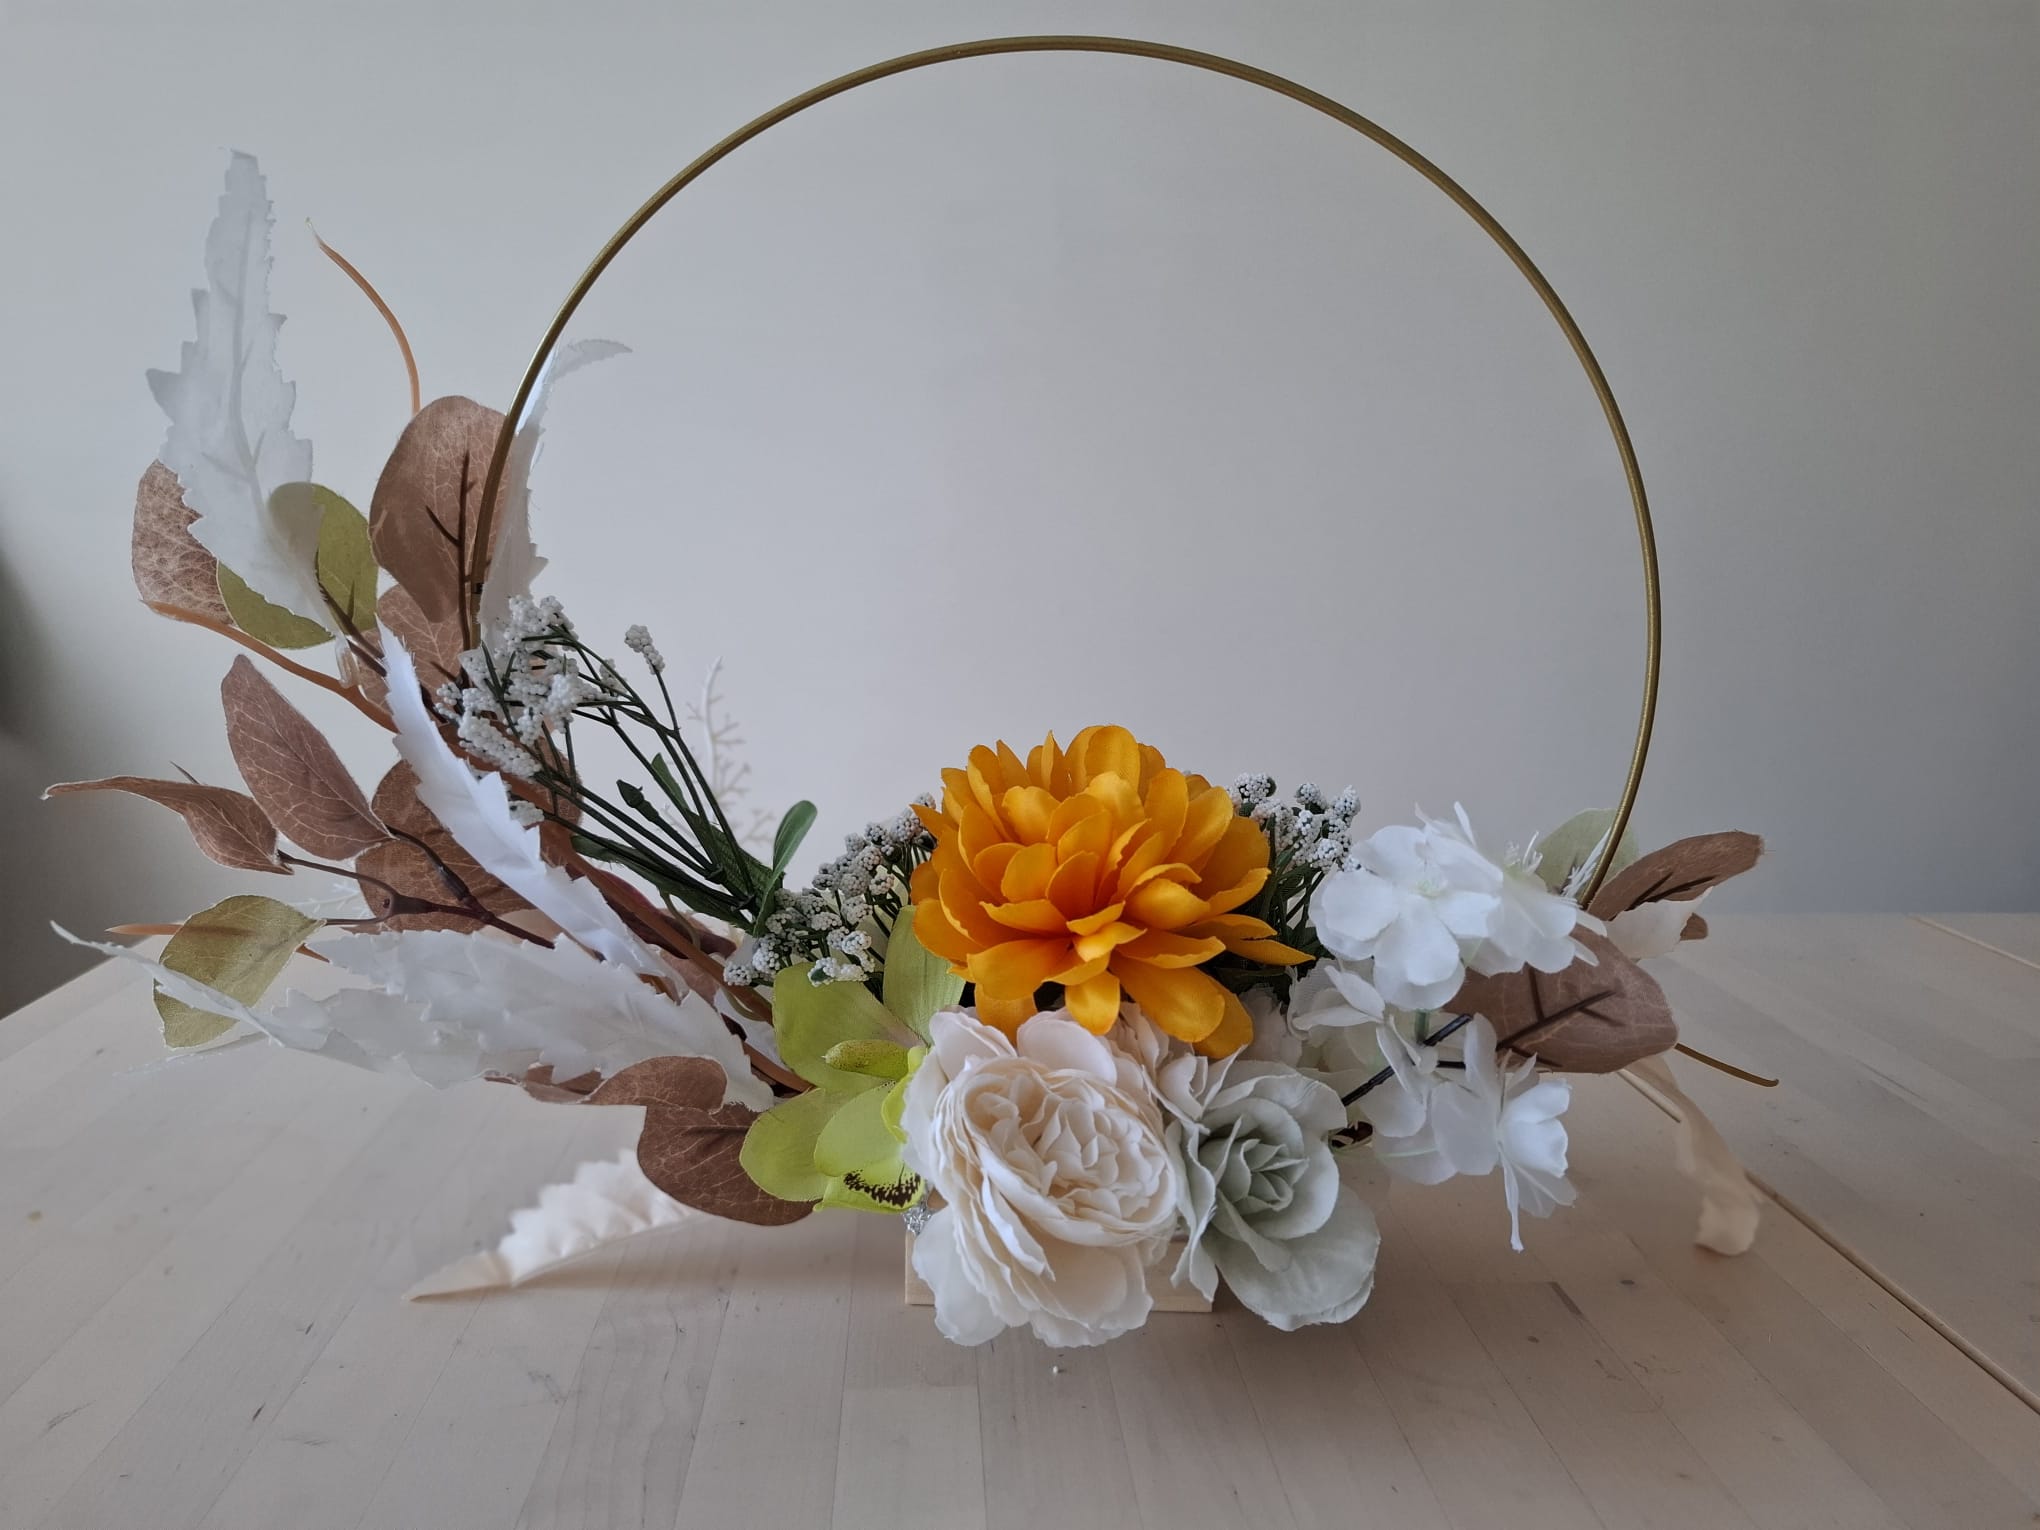
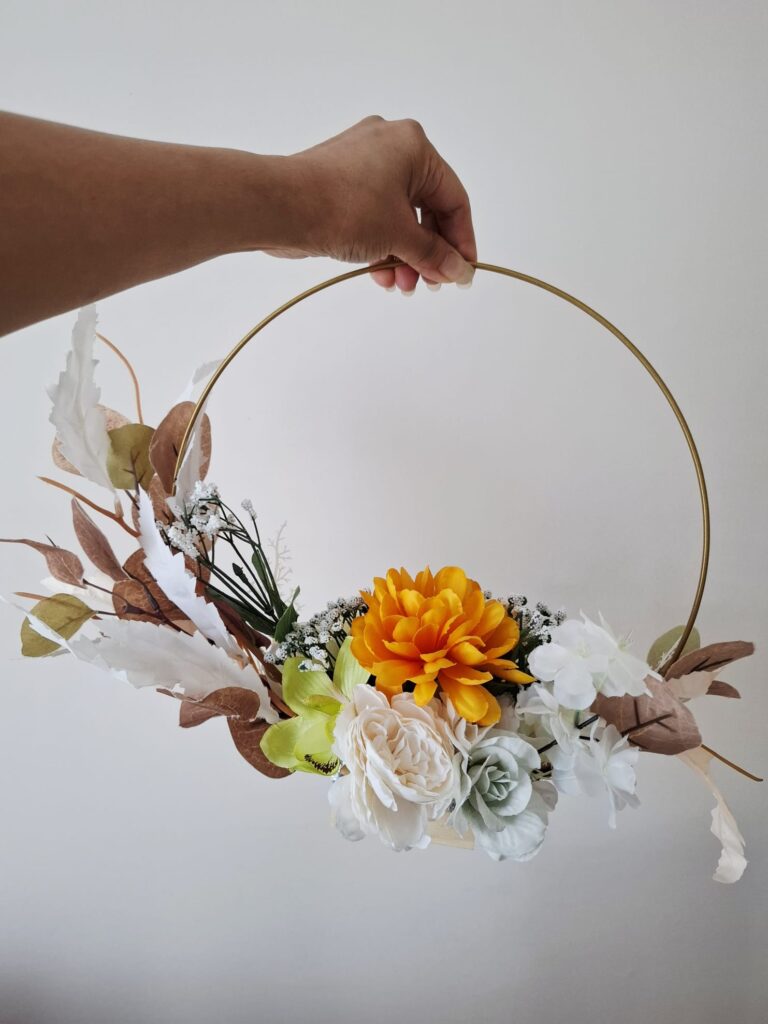
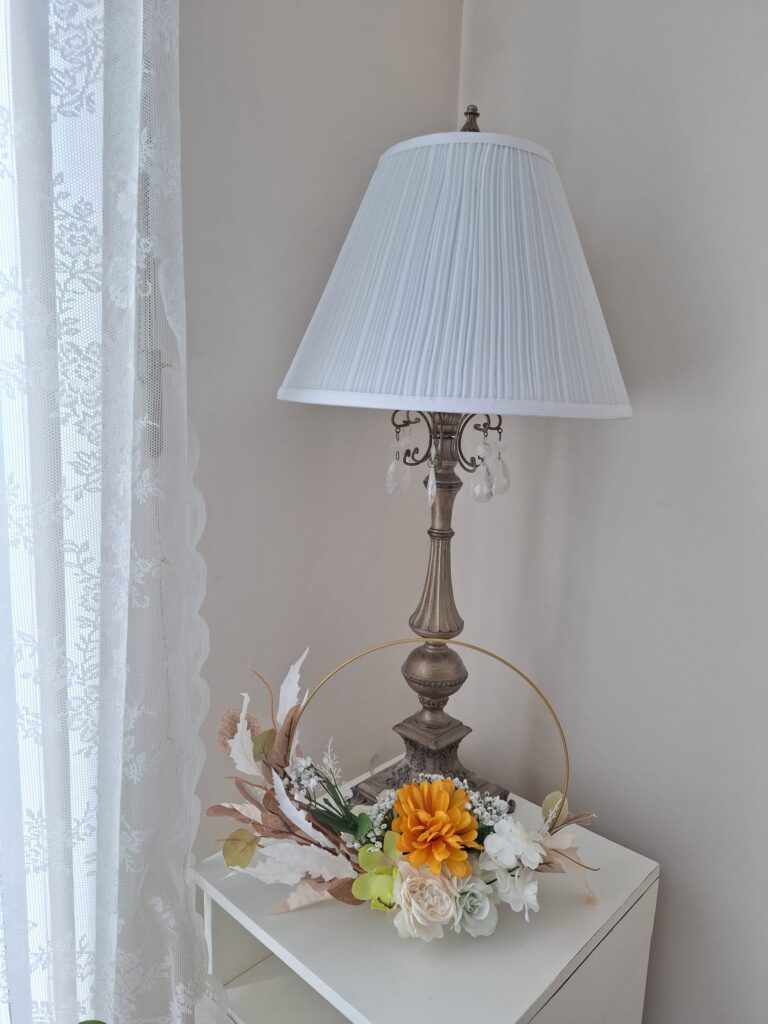
There is something so incredibly satisfying about a design that can do it all. Today in the studio, I wanted to create a centerpiece that isn’t just for the table, it’s a piece that can live on your wall as decor, or even be carried like a floral hoop for a special occasion. Multi-purspose!
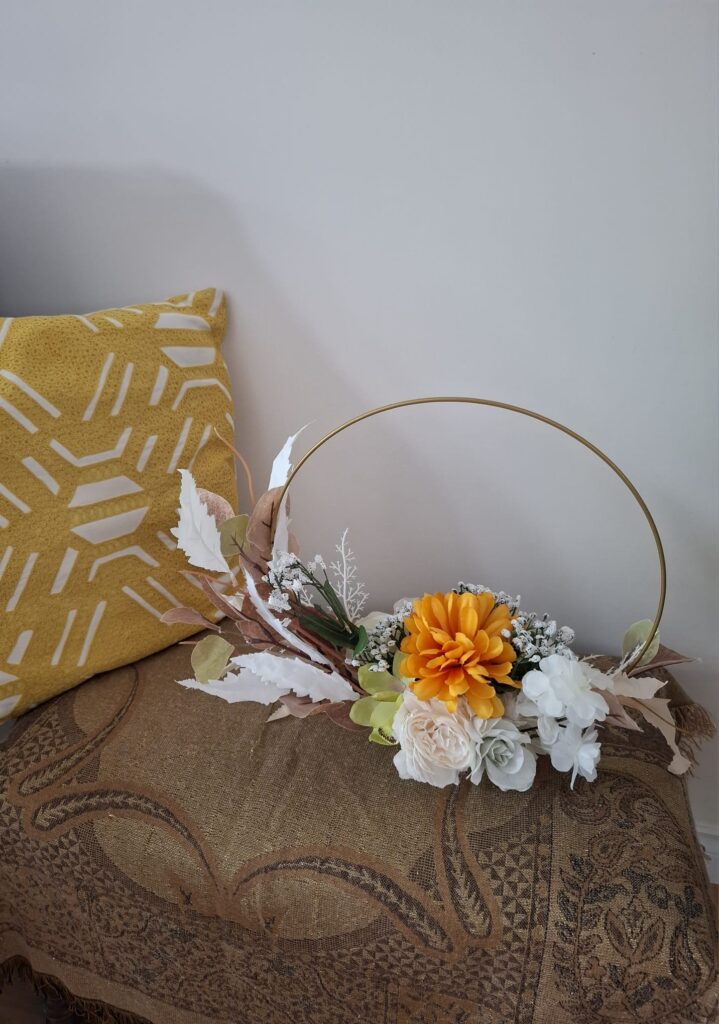
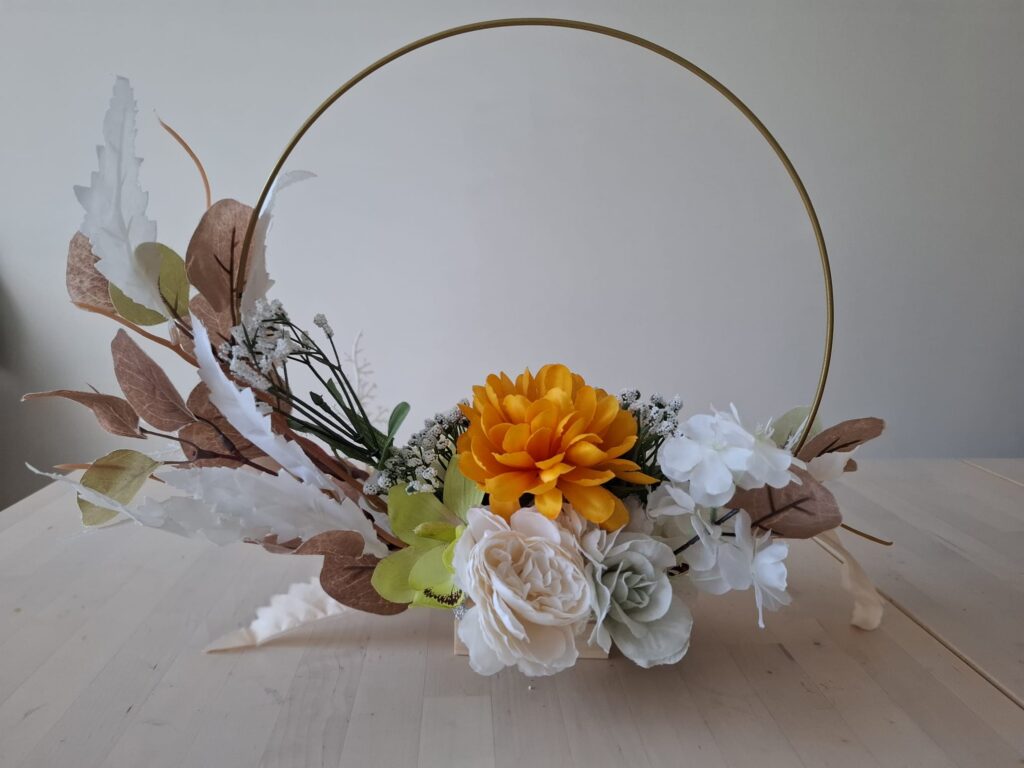
This day, I want to introduce you a “Crescent” design, on a floral hoop – that elegant, half-moon shape that feels both classic and modern.
The Secret to the Hoop
One thing I always tell my students: working with fresh flowers on a hoop is actually much easier than using silks. Why? It’s all about the weight. When you use fresh florals, the damp floral foam at the base naturally provides a solid, weighted anchor. With silks, you have to be more strategic, using heavier flowers at the base or, as I shared with my students today, using a “wet” form instead of a dry one to give you that same stability.
To keep things clean and easy, I wrapped my foam in regular kitchen foil. It’s a perfect hack – it keeps the water from dripping while hiding the floral foam mechanics, and you don’t even need a glue gun! Just pull two pieces of wire through the foam to anchor it to the hoop on each end, and you’re ready to go.
Building the Crescent
We started by placing our center flowers to create that all-important “Emphasis” point, the focal point. From there, I extended the foliage up toward the 10 o’clock position, and another set down to the 4 o’clock position.
To keep the flow consistent, I encourage my students to think of it like a clock: if you have your tallest point at 10, followed by having another element that ends at 9, then 8, then 7… this gradual “stepping” ensures you don’t end up with any awkward gaps. It creates a smooth, visual rhythm flow. And at the very end – at the 4 o’clock mark. Sometime, I like to add one little piece that trails or hangs down. I call it the “wink”, just like a little flick when we do our eyeliner drawing, it adds that bit of personality that makes the design feel alive.
The Power of Space
Now, here is a little secret for when you’re building this: resist the urge to fill every single inch of the hoop with blooms. I always suggest leaving some room for the flowers to breathe. We call this “negative space,” and it’s created quite intentionally. That empty space isn’t a mistake, it’s actually there so your eye has a place to rest, allowing you to appreciate the curve and the beauty of the crescent itself much more clearly.
A Lesson in Flexibility
That little “wink” of a flower at the end really makes me smile. It’s a reminder that life is so much more interesting when you add a little “naughty” detail to keep things fun and cute. We spend so much time trying to be perfect and symmetrical, but the real magic usually happens in the imperfections and the unexpected flourishes.
Whether you use this as a wedding piece, a wall hanging, or a centerpiece for your next dinner party, it’s a design that’s ready to move with you through life.
Let’s Create Together
I love teaching these versatile designs because they show you that floral art isn’t just about making something pretty, it’s about creating something that works for your lifestyle.
- Want to learn this technique? Whether you’re a corporate team looking for a creative escape, or an individual wanting to turn this into a side business, I’d love to help. Reach out to me here.
- Need a visual guide? I break down these techniques and more over on my YouTube channel: @ablessinggift
What would you do with your crescent hoop? A centerpiece, or maybe something special for a bride? Let me know in the comments!
#FloralDesign #CrescentDesign #FlowerHoop #FloralHack #MindfulFloristry #TeamBuilding #CreativeLife #FloralBusiness #WeddingFlorals #FlowerTherapy
Some of the links in this post are affiliate links, which means I may earn a small commission if you choose to make a purchase, at no extra cost to you. This helps me keep the studio running and allows me to keep sharing these floral tips and tutorials with you!